Cubase SX Tips and tricks #18

Those tips and tricks were first written for Keyboards / Home Studio. magazine. They are published here with their kind permission, thanks ,o)
And here is the 18th chapter of our adventures, 18 ! At the rate of 4 tips per month, it's not less than 72 tricks which have been proposed to you. I'm telling you, you are spoilt !
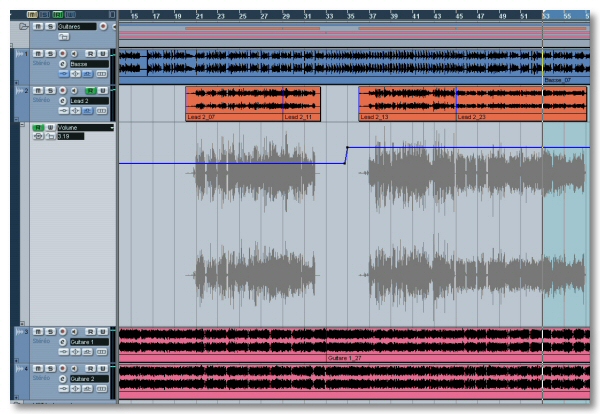
Height of track with the mouse [SX 1 and 2]
On SX, it is possible to size the height of each track at your own desire, good. But one more time, you must be a mouse marksman, well aim, catch the time when the cursor turn into an arrow, etc. But fortunately, the shortcuts of which I am extremely fond will help us.

When a track is selected, you just have to hold the ALT key down while acting on the Down and Up arrows in order to give to it the desired height. The CTRL key acts a little bit in the same way, although its acting on the Down arrow is strangely heavier Mystery ;-D
Audio Pitch Bend [SX 1 and 2]
Yeah, you read well ! The extreme processing fans
will appreciate to learn that it is quite possible.
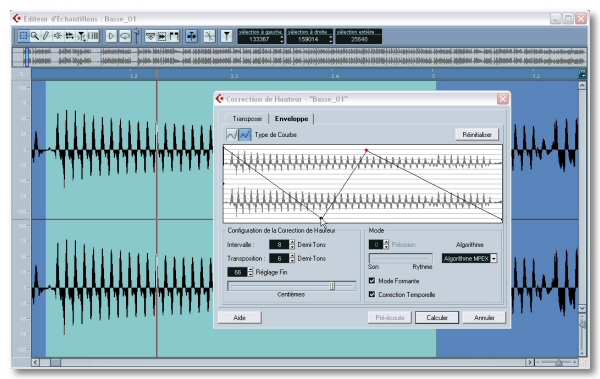
The effect can be applied either to an Event in the Project window, or to a selection in the Sample Editor for example, the principle is still the same.

The tip is hidden under the right-click at Process / Pitch Shift. There is a tab Envelope in the dialog box. Here you will be able to torture your poor sample, which didn't do anything to you, you must admit this. You've got the choice between two curve kinds, linear or spline. Each click in the interface adds a point which can be moved at desire. To delete one, catch it and pull it out of the window. At least, click on Process so that your Pitch will be applied.
This option offers some other parameters that I can't detail here for lack of free space. The continuation in the manual ,o)
Manual Freeze of an Audio track [SX 2]
You were numerous to be disappointed when noticing that SX 2 was proposing the Freeze function for the VSTi tracks only. But with a little bit of shrewdness, you can obtain the same thing with an Audio track. Here is the proof about this

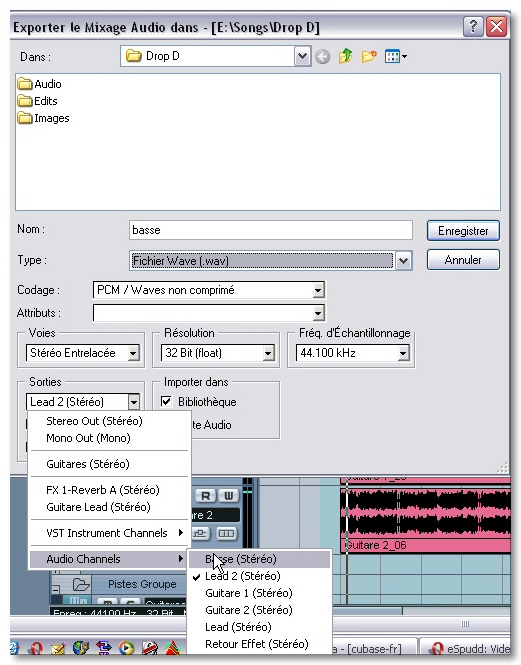
Before all, select the Container or the Event to be exported and hit the P key to set the locators at each ends. Then, follow File / Export / Audio Mixdown. Cubase SX 2 will authorize you to export what you want, track, group, bus etc. For our handling, we will choose the desired track in Audio Channels. Take good care about selecting the following options :
- Type Wave or Aiff file
- Resolution and sample rate similar to the Project ones
- Idem for Channels, choose Mono or Stereo depending of the exported track
- Check off Import to Pool and Audio Track in order to have immediately at disposal the generated file.
Once the process is done, you just have to deactivate, and not to mute, the original track. If it was using a FX track unused by the other tracks, you can also deactivate the plugins from the FX track, your CPU will have some more holidays.
It is a promise, that trick is much faster to apply than reading it ;o)
Editing several Midi controllers [SX 2]
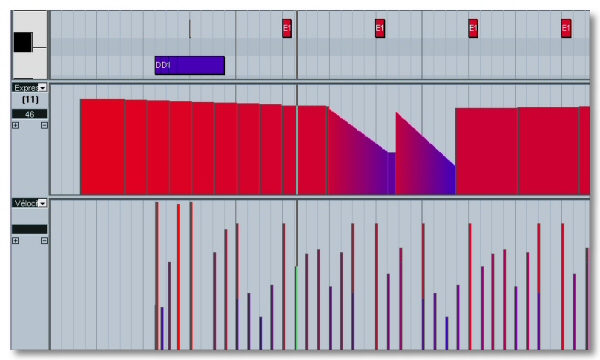
Nor a very kind novelty brought by SX 2, the possibility to visualize and to work on several Midi Controllers in an editor. Example in the Key Edit. A right-click proposes to you a New Controller Lane. You just have then to choose in the pop-up menu at left the parameter to be displayed. Isn't it attractive to be able to work on the Velocity and the Expression for example ?

See ya soon, here or somewhere else ,o)


